Membrane Software NewsFeaturesApplicationsHelp / AboutContact usContribute / Support us
Installing Membrane Camera on a Raspberry Pi
In this procedure, we install Membrane Camera onto a Raspberry Pi by writing a disk image to its SD card.
Disk images are based from Raspberry Pi OS. For a Raspberry Pi with Raspberry Pi OS already installed, it's also possible to install Membrane Camera using a debian package.
System requirements
Raspberry Pi with an SD card of 8 GB or larger
Installed camera module
Install steps
1
Get the disk image
 
Download the compressed disk image file for Membrane Camera, named with a "zip" extension. Open the zip and extract the uncompressed disk image file, named with an "img" extension.
2
Write the disk image to the SD card
 
Etcher

After downloading the Membrane Camera disk image file to a desktop computer, use an application such as Etcher or Win32 Disk Imager to write the image to the SD card.

3
Boot and configure the Raspberry Pi
 
Raspberry Pi boot

Insert the SD card into the Raspberry Pi, and connect it to a monitor, keyboard, and mouse. Connect the Raspberry Pi to a USB power source to boot.

Membrane Camera disk images are about 4GB in size, but the SD card is most likely larger than that. On the first boot only, the image resizes itself to fill available space. After the operation completes, the system restarts.

Raspberry Pi Desktop

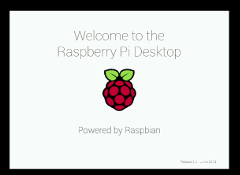
When the Raspberry Pi finishes the first boot and the restart boot, it shows a desktop view.

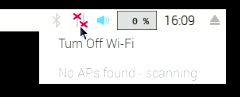
To provide Membrane Camera with network connectivity, attach an Ethernet cable or click the networking icon in the top right corner to configure wi-fi.

For other system configuration, use the login pi with password membrane.

After installation, configure and command Membrane Camera using Membrane Control from another computer.